CHAIR HOW-TO: Revision
Chairs may elect to enable the revision phase in their conference. This gives authors the chance to modify their papers based on reviewer comments.
OVERVIEW
Authors are notified that the reviewers decided to look at the paper once more after revisions are made. This gives authors a second chance for their paper to be accepted.
Review and Meta-Review Questions
Note
Authors would need to be able to read reviews of their papers so they know what to revise.
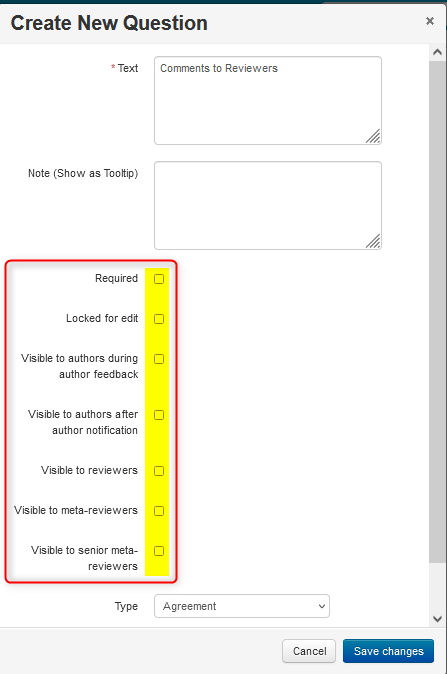
To make Reviews (and Meta-Reviews) visible to authors, the questions first must be enabled as such.
- Go to Review Forms, and for each question that the author is to see the reviewer's answer, select 'Visible to authors after author notification', then click save.
- Do the same for Meta-Review questions if desired.
Submission Setting
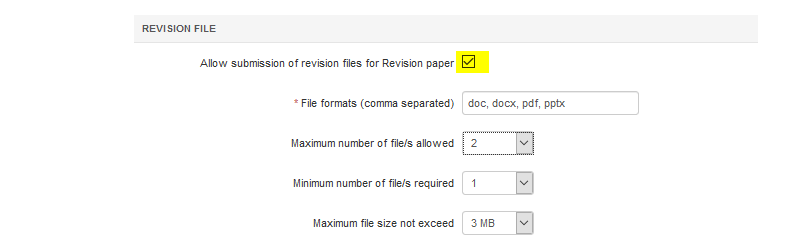
The chair can configure the revision file format, size and number of files to be uploaded in the submission settings tab.
- From the Settings tab, click Features>Submission and check the ‘Allow submission of revision files for Revision paper’ checkbox. Set the file formats, maximum number of files, minimum number of files, and the maximum file size. Then click ‘Save changes.’
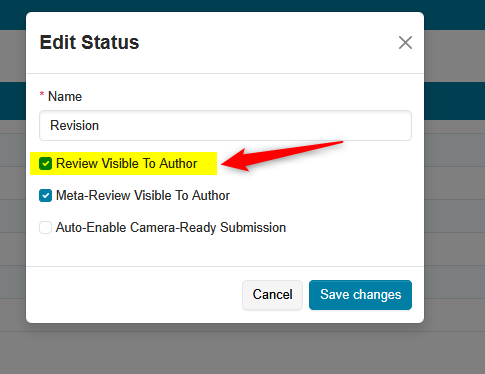
Paper Status
Caution
Before Author Notification is be marked as 'completed', you will need ensure “Review Visible To Author” is disabled for Revision Paper Status.
This is to prevent authors of revision papers from seeing review updates.
This does not have to be changed back.
When revision reviewing is completed, upon changing Revision papers’ status to Accept or Reject, reviews will be available again to the authors.
- Go to Setting> Features> Paper Status and click the 'edit' icon
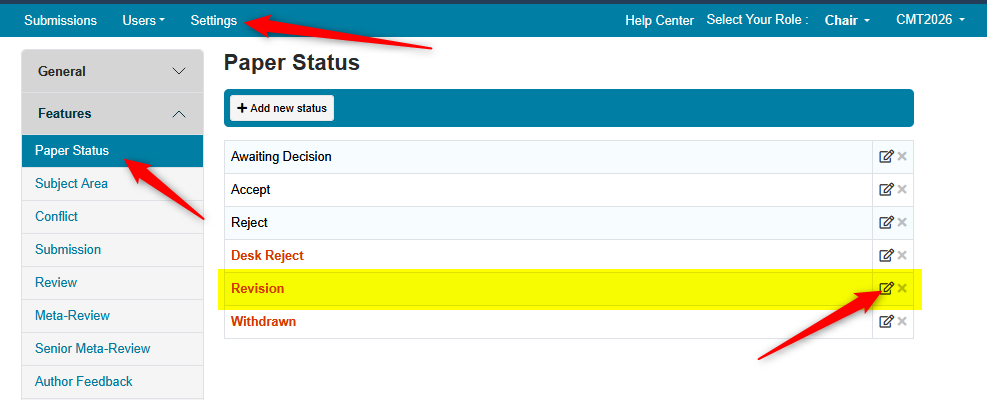
- Disable the checkbox marked 'Review Visible to Author' and save.
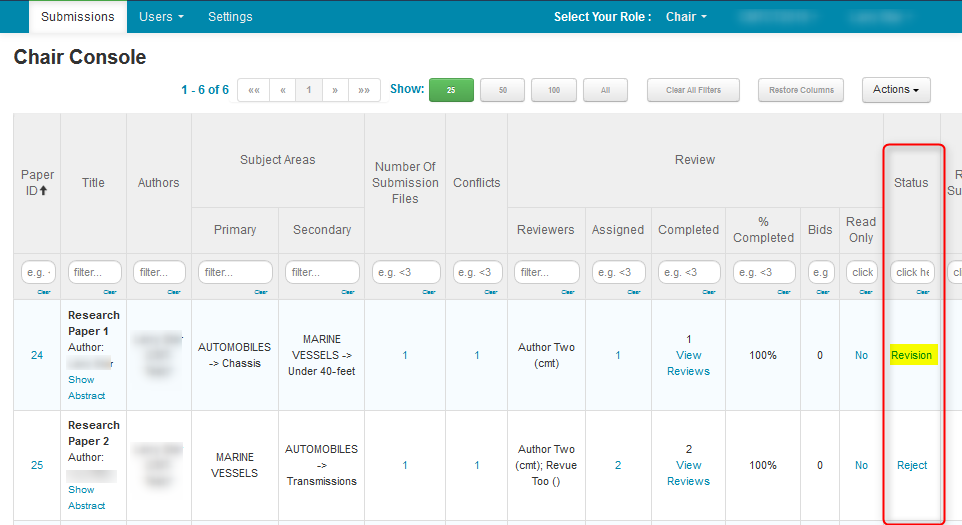
Paper Submission Status
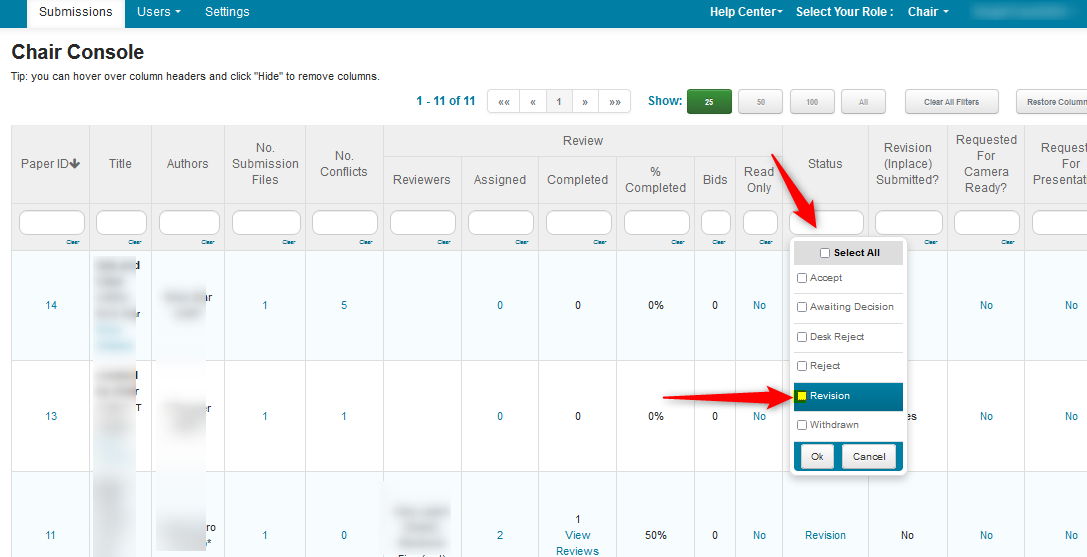
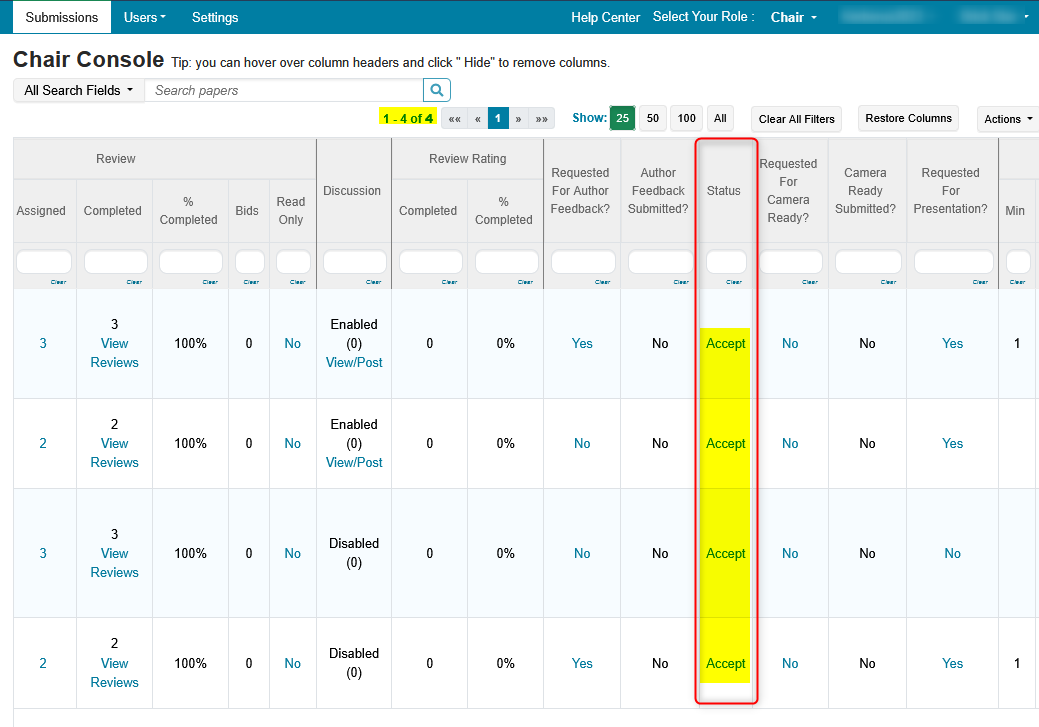
- From the Chair Console set the ‘Status’ to ‘Revision’.
Author Notification
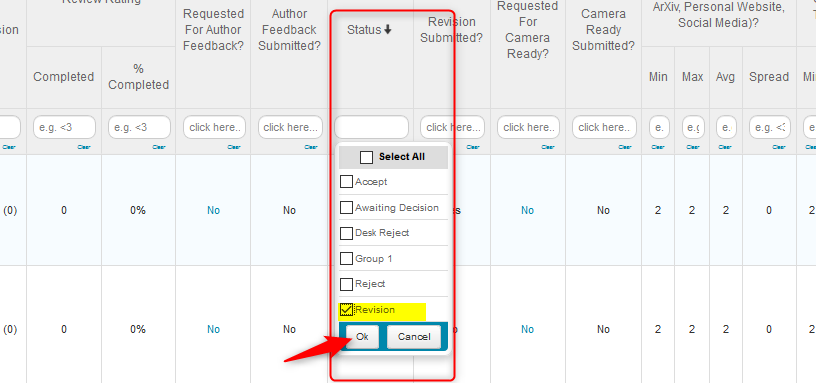
Note
Chairs can notify Authors of their paper status together with other papers or they can be emailed separately by filtering the ‘Status’ column for ‘Revision’ before sending emails. This will send the emails only to Authors with the status of ‘Revision.’
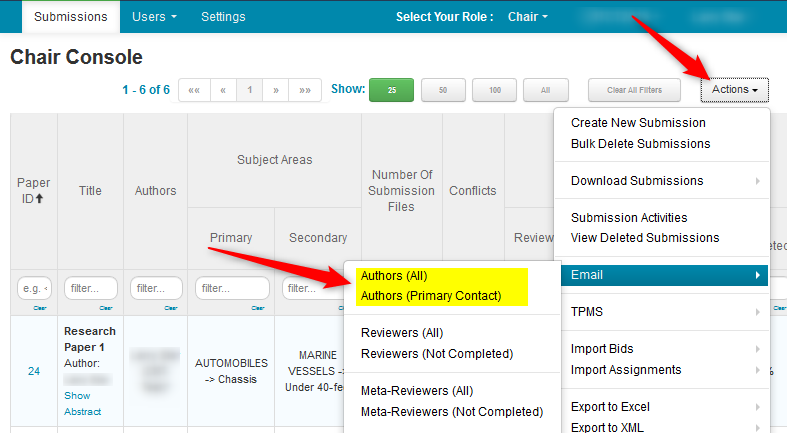
- Click Actions>Email>Submissions choose to email all authors or just the primary contacts.
Revision Settings
Note
To enable revision the timeline activity has to be set to a future date.
After the Author notifications are sent, the ‘Revision Submission’ setting will need to be enabled.
- From the Settings>Activity Timeline>Deadline page, enable ‘Revision Submission’ and set a proper, future-dated deadline.

- Make sure that the ‘Author Notification’ status is set to ‘Completed’ with a Deadline date in the past

Note
CMT recommends these next two settings should be enabled after revision submission has been completed.
Allow only revision papers for reviewing
Do not show non-revision papers during reviewing

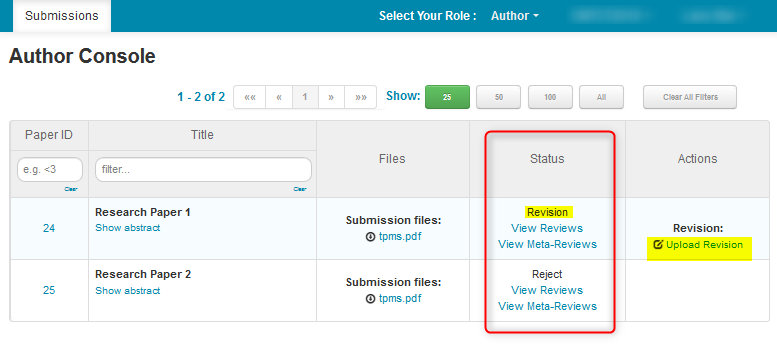
Author Console
After the notification, Authors will see the statuses of their papers, and a link to upload a revision paper.
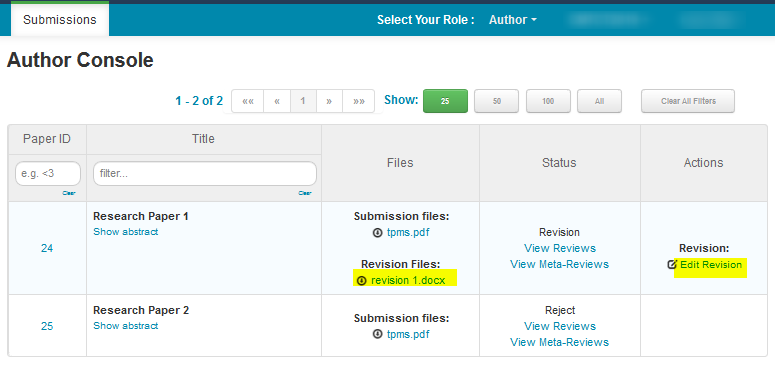
Once an Author uploads the revision, they will have the option to edit.
Review Settings
Note
Once the deadline is over for the Author to submit the Revision, there are 2 more settings to enable for the Review to commence.
- From the Settings>Features>Review page - 'Revision' section, check the ‘Allow only revision papers for reviewing’ checkbox, then ‘Save changes.’ This will disallow all other papers, except revision papers, to be reviewed. Click ‘Save changes.’
Note
Do not select this until after the revision submission.

- From Settings>Activity Timeline>Deadline, enable the ‘Review Submission’ setting with a proper future-dated deadline. Click ‘Save changes.’ Once done, send notification to the Reviewers to commence the Revision review.

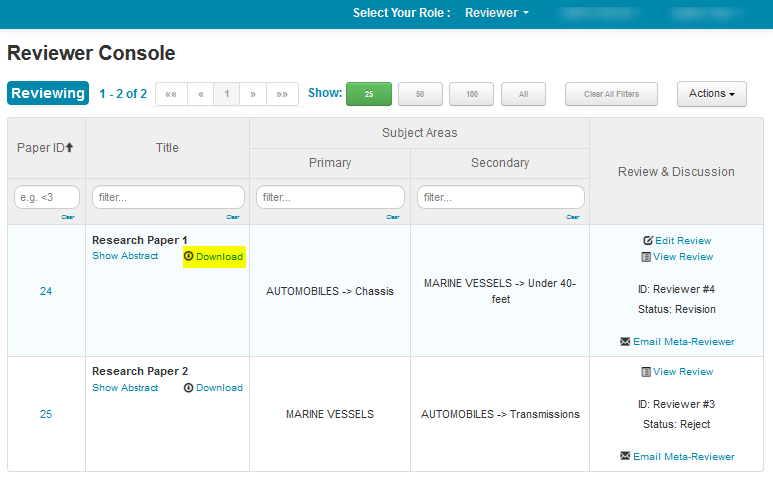
Reviewer Console
Once the Reviewers have gotten notification, they can commence the review of the Revision paper.
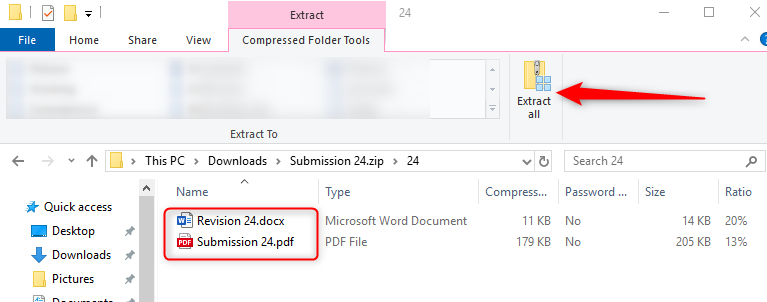
- The Reviewer can download the paper by clicking the link.
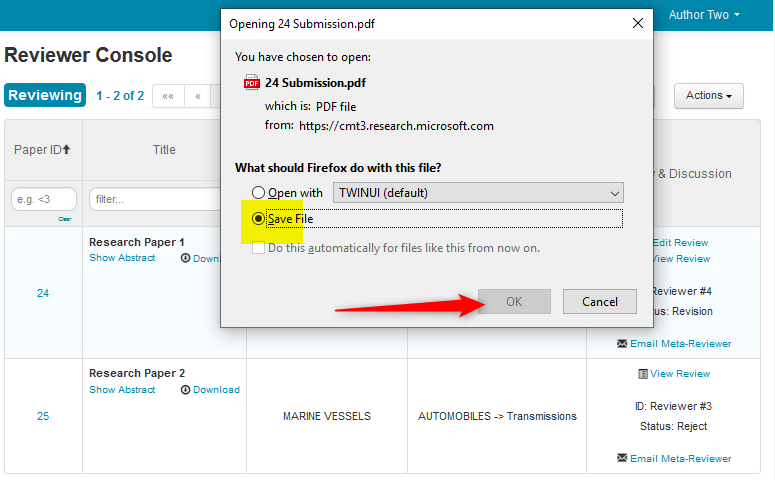
- Save the zip file locally.
- Open the file, click extract all. The zip contains both the original paper and the revision.
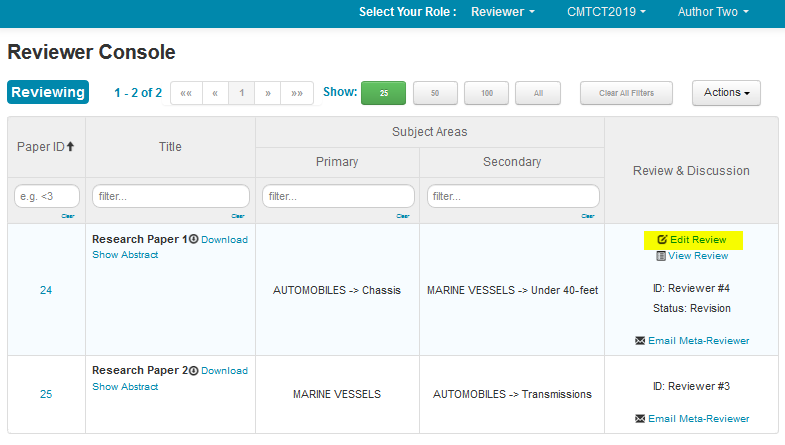
- After the Reviewer comes to a decision on the revision, the Reviewer can edit the Review by clicking ‘Edit review’ in the Review Console.
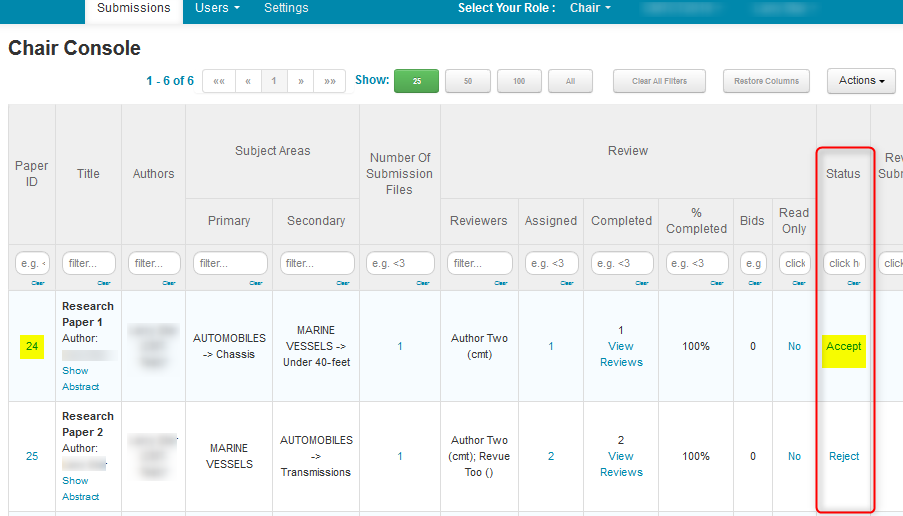
Chair Console
The Chair makes the final decision on the Paper and sets the paper submission status accordingly. The Author notifications are then sent.
Download Revision Files
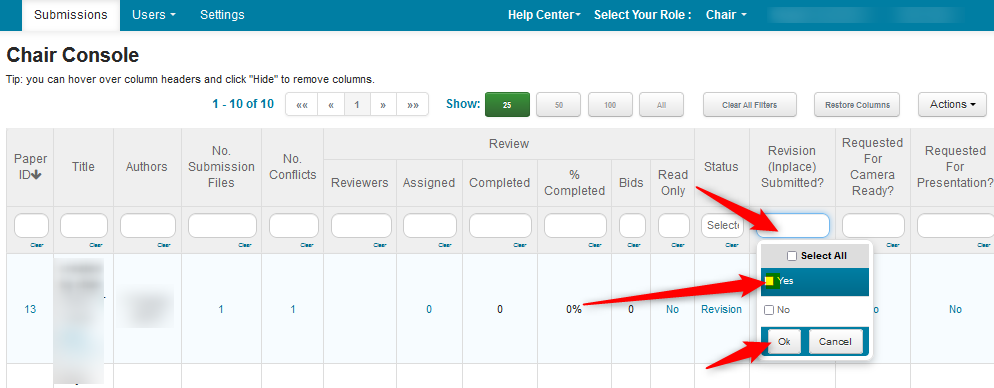
- In the Chair Console, filter the Status column for 'Revision'
- Filter the 'Revision Submitted?' column for Yes.
- To download new revision files, click Actions>Download Submissions
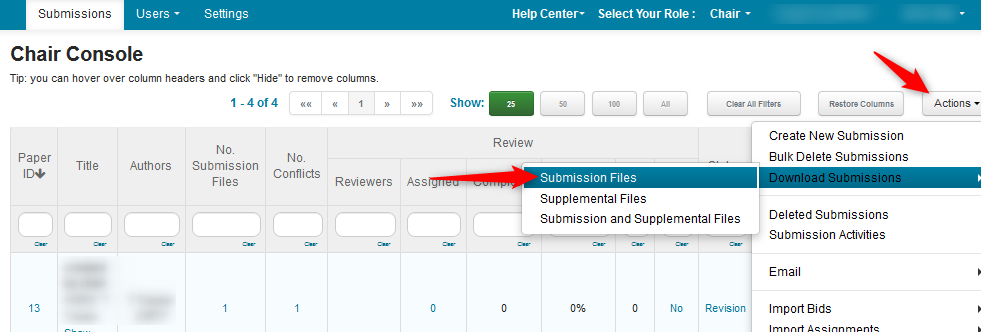
- In the secondary menu, click Submissions. (Submission and Supplemental Files can be downloaded instead, if needed.)

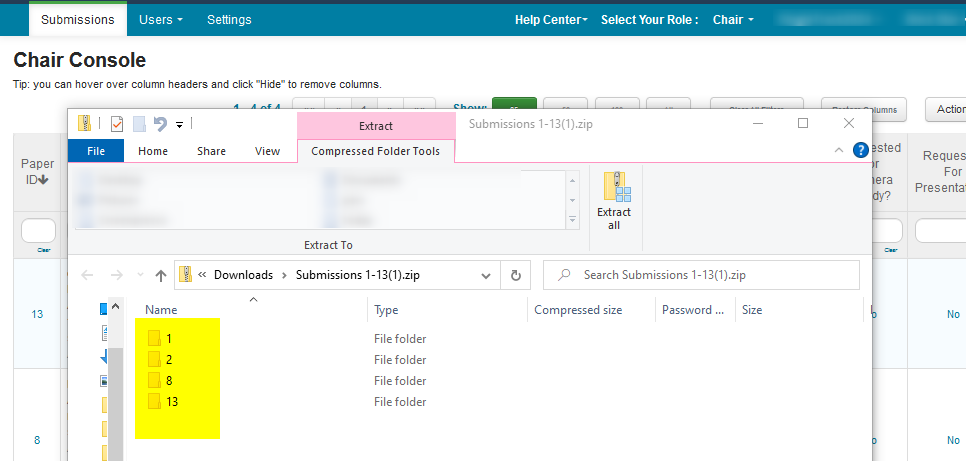
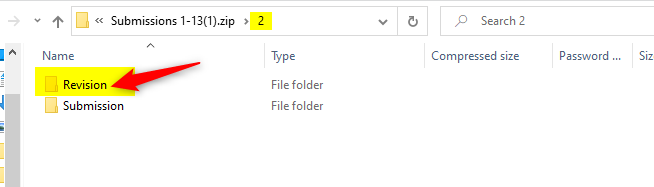
- Open the zip file, and click on a paper ID. In this example Paper ID #2.
The 'Revision' file will be in a separate folder from the original submission with its respective paper ID.
NOTIFICATION OF FINAL PAPER STATUS
Notification of final status for revision papers needs to be sent manually.
Note
The 'Author Notification' timeline activity has already been set to completed, from the notification for papers that were already accepted/rejected using the Author Notification Wizard.
There are a couple of options.
The main difference between Option 1 and Option 2 is the filtering in the Chair Console to get to the desired papers for author notification.
Option 1 is filtered by Paper IDs; Option 2 is filtered by Temporary Status.
Option 1 - Comma Delimited Paper IDs
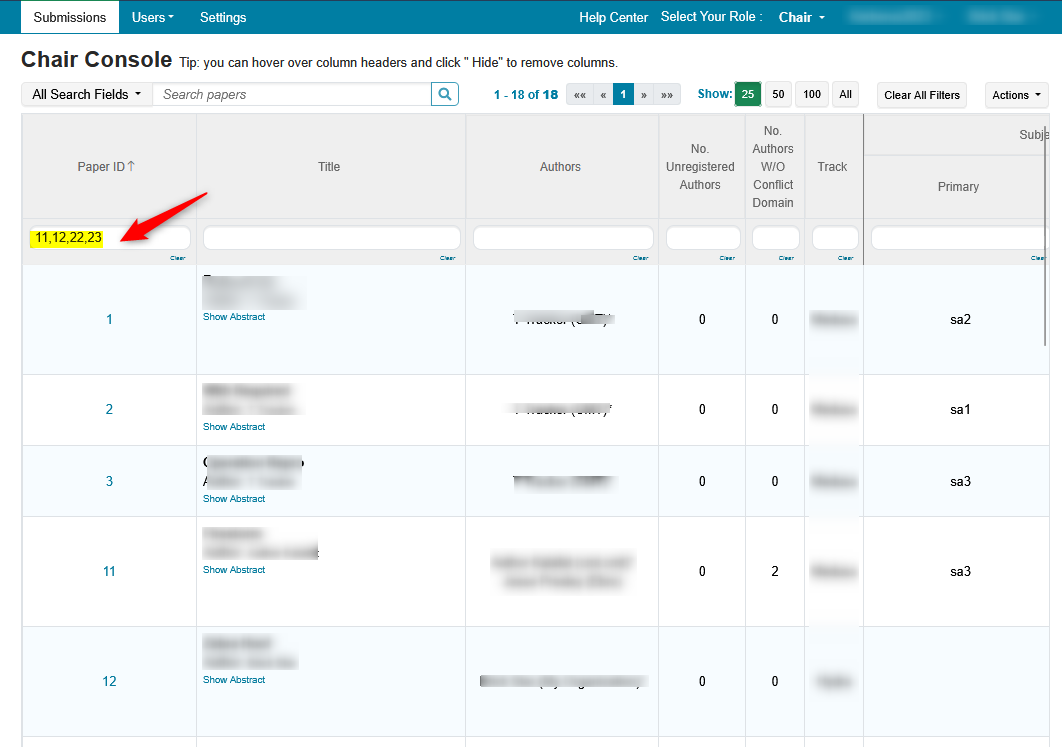
The Chair would know the Paper IDs of the papers that were deemed accepted after revision. These Paper Ids can be entered in the Paper ID column the Chair Console. Enter the non-consecutive Paper IDs desired separated by a comma.
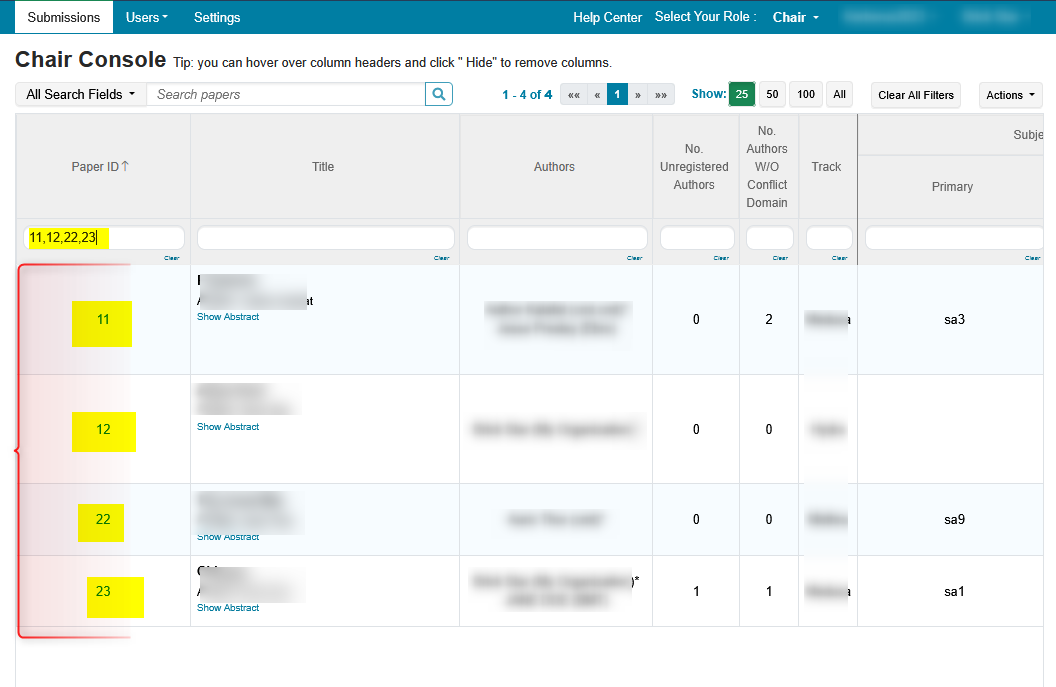
In the example below we will filter for the accepted papers after revison - Paper IDs 11,12,22,23.
Before IDs are entered:
After the IDs are entered:
Change Paper Submission Status
Now we can change the Paper Status to 'Accepted' only for these papers'
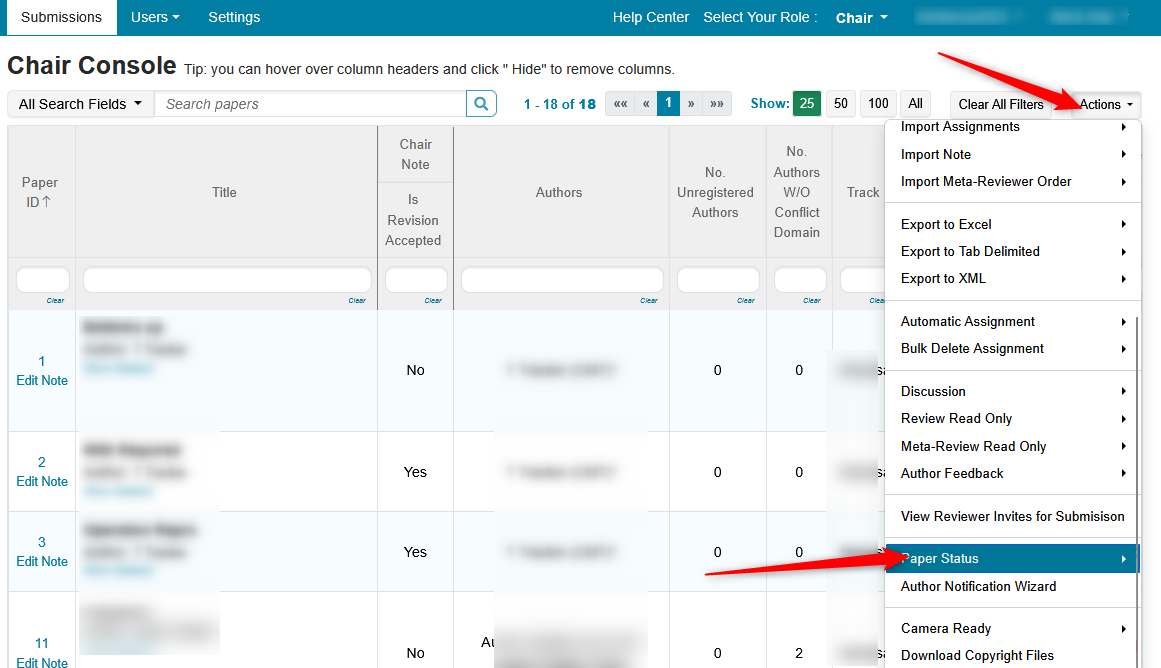
- Click Actions>Paper Status
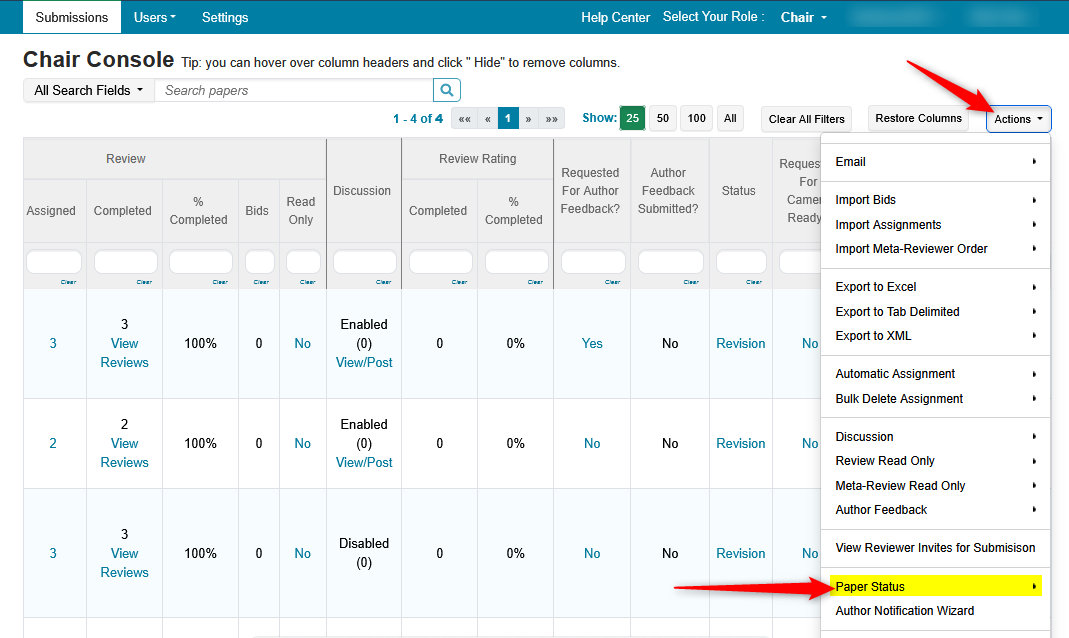
- Click 'Bulk Edit' in the secondary menu

- Change the status of all papers to 'Accepted.' Click 'Save.'
Note
Multitrack conference 'Bulk Edit Paper Status' is shown.
Single track conferences will have only one 'New Status' dropdown.
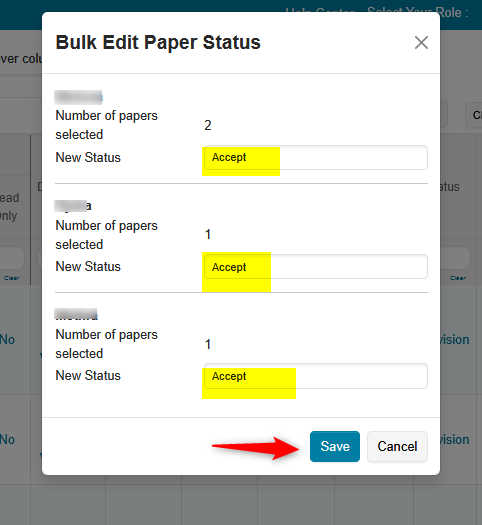
- Verify the status changed for all 4 papers
Emailing authors will be shown after Option 2 as it is the same for both.
Option 2 - Temporary Paper Status
Chairs would create temporary statuses of 'Revision-accept' and 'Revision-reject'.
Then the papers would be filtered by status to send out email notifications to authors.
Note
In a multi-track conference this must be done for all tracks needed.
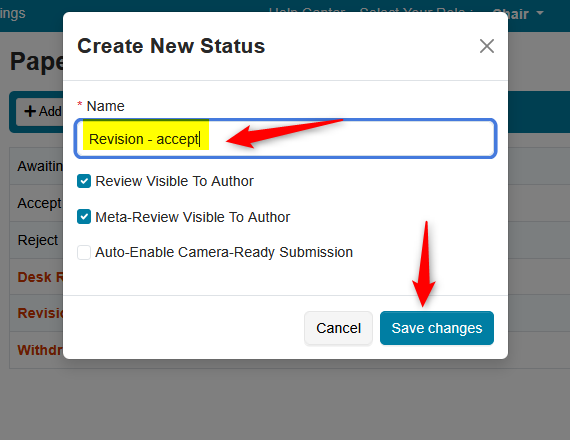
- Go to Setings>Features.Paper Status and click 'Add new status'

Create 'Revision - accept', then Save.
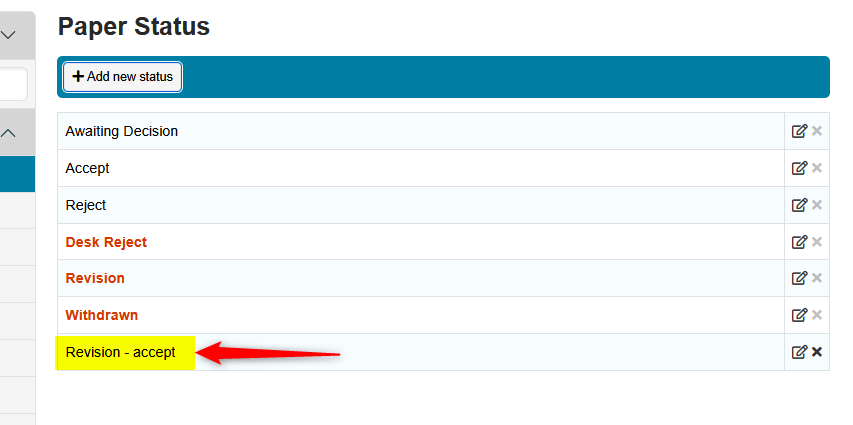
- Verify the status appears in the Paper Status page. Do the same for 'Revision -reject.'
Change Paper Submission Status
Now we can change the Paper Status to 'Revision - accept' only for those desired papers
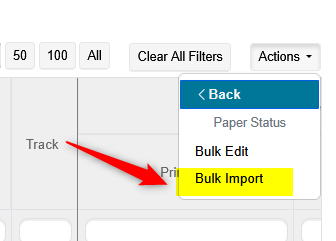
- Click Actions>Paper Status
- Click Bulk Import in secondary menu
- Click Download Template
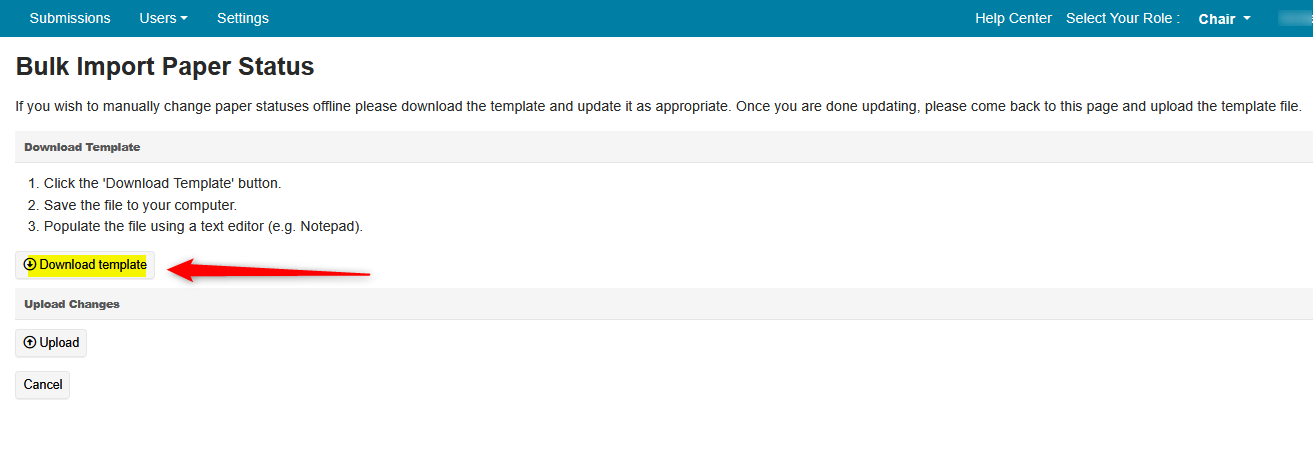
- Enter theinformation ion the file as shown, tab delimited. Save the file

- Click upload to upload the file just created. This was loaded successfully. Click Save.
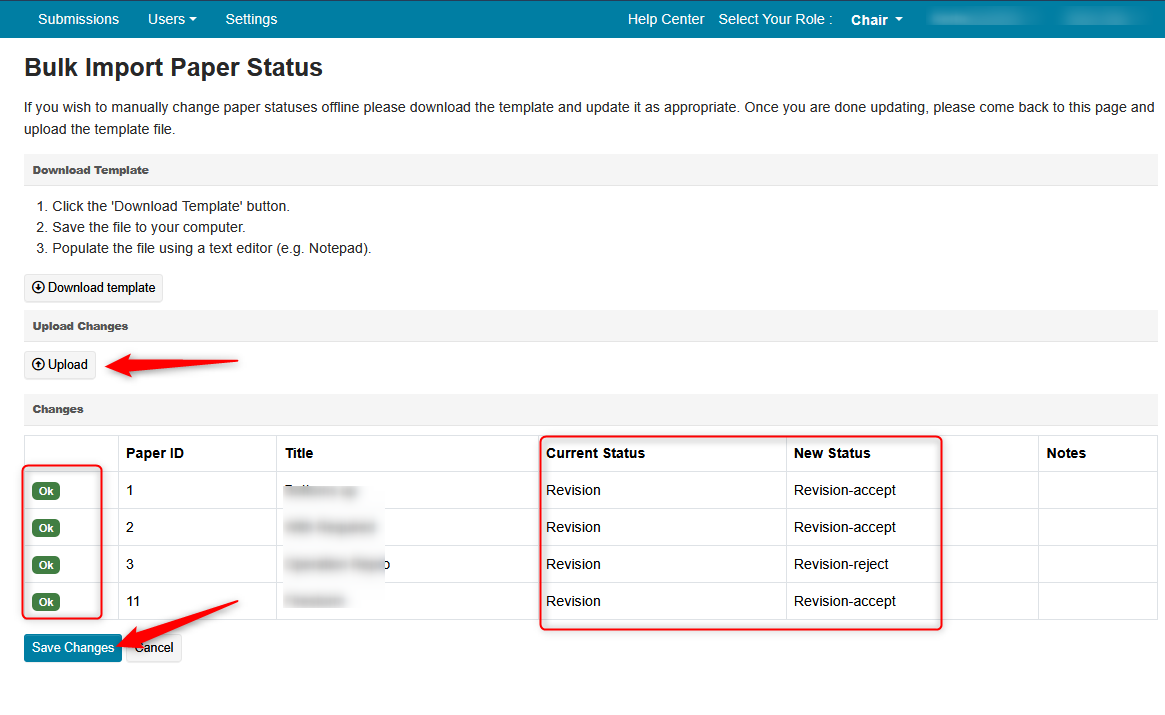
Once the papers' statuses are updated in the Chair Console, just filter the Status column for 'Revision-accept' (or Revision-reject) to email the authors
After the Authors are emailed their notifications, the temporary paper statuses can be changed from 'Revision-accept' to 'Accept', and 'Revision-reject' to Reject.
Emailing Authors
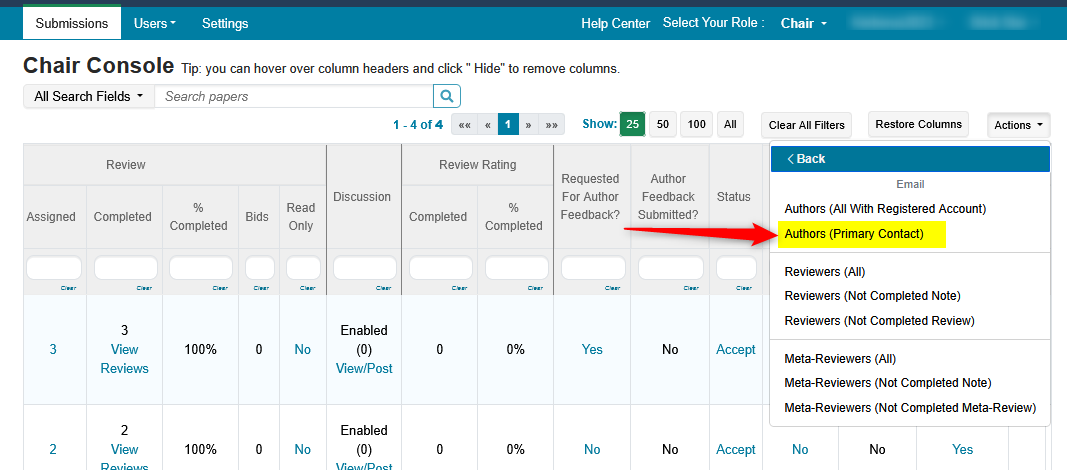
- Go to Actions>Email
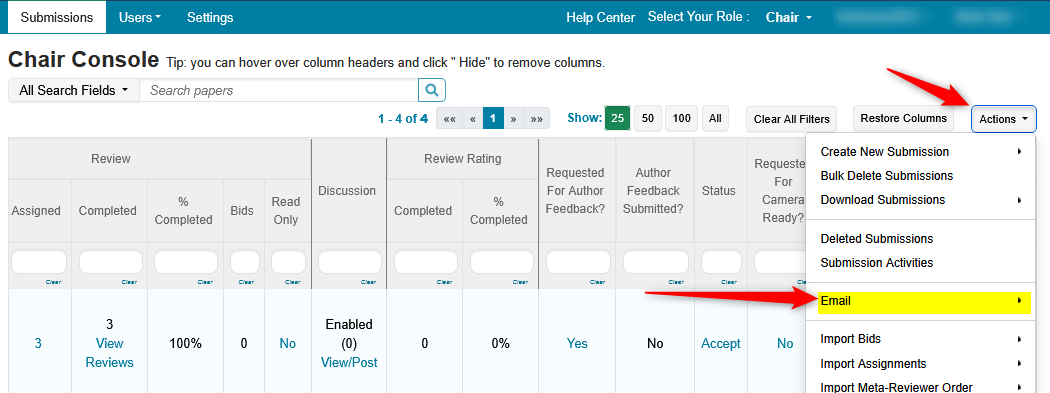
There is a choice of emailing all authors or just the primary contact of the paper. In this example we chose primary contact.
- Click Authors (Primary Contact)
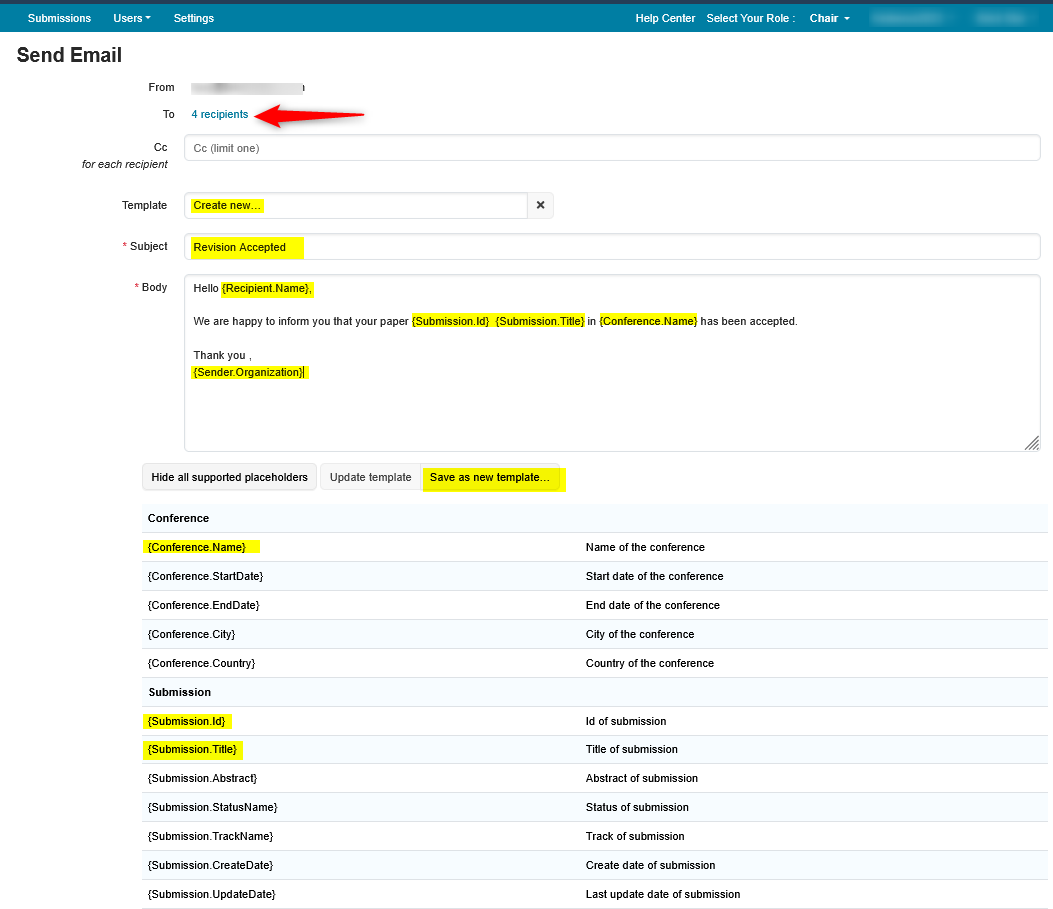
The 'Send Email' page appears. It is here where you would create a template for the accepted papers after revision.
Create Email Template
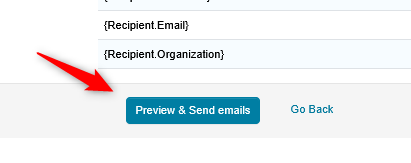
In the example below we created a simple text using some of the placeholders available. We suggest you save the template so you can use it again and even modify this one to use for the rejected papers.
- Click 'Preview & Send emails'. If satisfied, click send in the ensuing page.